Synthesizers: from post-punk experimentation to the synth-pop’s prominent instruments which shaped the face of pop music in the 80’s. Gary Numan is one of the most notable punk-guitarist turns synthesizer-player who treat his keys and synth just like a guitar. He routes his keys into a chain of stompbox effects and a (Fender Jazz Chorus?) Guitar Amplifiers, and the sound turned out to bring much impact and power. You could try the same. Guitar amps plugins like Amplifikation is purposed as an Amp simulation for guitars. But if you could hack and tweak critically, you can use it for every infinite purposes. You could even invent your new sound though you must proceed with caution.
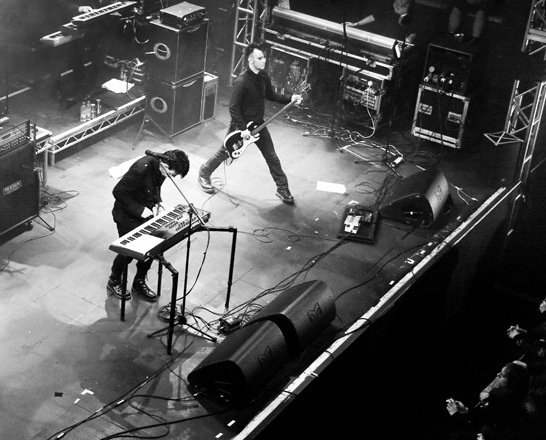
Gary Numan. Source: Synthopia
Sometimes a guitar amp plugin could be very useful to create a realistic environment like the real recording session. Not just for a guitar , but you can use guitar amp plugins for other instruments such as keys, vocal, or even drums. Depends on your intended experimentation due to a risky nature of adding both wanted and unwanted frequencies, as well as harmonics, from the guitar amp. Although, there is 3 good reason why using guitar amp plugin on synth is a good idea:
- Giving natural “feel” to a sterile software synthesizer, due to a virtual “air” or “space” between the (virtual) microphone and the cabinet.
- Making a synth track to be stand-out in a mix, especially on a guitar dominated tracks.
- Give a wild, infectious, feral coloration into a tame synth sounds.
For Electronic Dance Music (EDM), Amplifikation One, Vermilion, or Cerberus could be very useful as an amp to thicken your leads or basslines, or the add some slight saturation on your sounds, etc. It also makes your sound processing to be a lot easier and saving your computer speed memory.
Here’s some tips or sights, what stuff you can do with a synth vst, and a guitar amp simulator such as on of the Kuassa Amplifikations.
- Use Amplifikation Guitar Amp On Send Channel
If you can tell the difference between the amped one and the raw, you also can manage the amount of the Dry/Wet level between those channels. This steps also help you to preserve the original sound, or to create the depth and dimension of the sound layers.
- Manage the wideness
You can manage the wideness by using built in Stereo mix on the guitar amp simulator amplifikation cabinets: L, R, Sum L+R, and Stereo as an alternative of the more common stereo imager to expand its side range, or make it sound stereo with time difference (between 15-30 ms) using delay plugin. Try using the A and B stereo cabinet on the Kuassa Amplifikations with different settings, such as mic type, cabinet type, or mic placement to create stereo depth.
- Reverb effects before or within the Amplifikation
You can put a reverb on your channel for your keys before the amp. It could recreate the artificial studio environment, or recreate the built in reverb in the keys like the old days. It makes the sound more wet and old, but you gotta be really careful of the amount of the decays and the low-cut hi-cut of the reverb, or it would sounds so awful. Reverb after the guitar amp is better and easier to recreate the artificial amp/speaker room.
- Equalize before or after the amp
If you can try to manage which frequency that’s going to be amped, you can be more selective and easier to reduce the ‘unwanted’ noise or decays from the guitar amp plugins. Microphone in the old days have a more narrow frequency range. Equalizer before the amp will help you a lot to recreate the mic frequency range before the sound is getting amped. It will be more better if you insert another equalizer after the amp, or just use the built in EQ on Kuassa Amplifikations would be much easier.
- Mic types and Mic placements on Ampifikation
This is ones of the most amazing features on guitar amp simulator like the Kuassa Amplifikations. Sometimes it is the most ignored part, but please mind that this is the process that will define the character or your synth, or how “old” it sounds like. Just imagine how the miking would be in the studio. Try each microphone in the left or the right of the amp. Learn the difference between those types of mics. I.e. Ribbon can greatly recreate the old sound.
- Splits and Blends
Try to splits a synth plugin into some channels, arrange the wideness and position each channel. EQ each channels to keep them balanced in those important frequencies. Use different types of Kuassa Amplifikations, different head cabinet or different mic. In this processing, you could enhance the depth and thickness of your synth, add a slight delay for chorusing effects, or even recreate some different sound that comes out from one single instruments. You could also regroup them back into one channel again and put another light amped effects if you want to.
- Amplifikation Cerberus for BASS!
The purpose of Cerberus is for a bass guitar amp simulator. But don’t hesitate yourself to try it for your bassline keys. It have some nice features like Compressor, Equalizer, Contour, and Mic placement. The cabinet and processing will create a saturated effect on your bassline. For a harsh and gritty bass sound, you could try to use Cerberus’ “Drive” amp.
- Try every possibilities of new sound designing with the Head Cabinet or Amp Overdrive
This is the coolest part to let you be more creative to achieve your own unique sound. You can make a ‘Justice-like’ distorted synths. Synth meets overdrive would sounds either very cool or simply bad. So, use the built in EQ and Overdrive amount on the guitar amp plugin Amplifikation. So you just save a multi-processing sound with only one amp plugin.
- Dull tone, losing “mojo”, or lack of presence after using guitar amp?
Try tro turn-off the Cabinet section off, and experience only the amp. The “Clean” setting will give you more transparent warmth while “Drive” will give you nice beefy sounds. Experiment with other knobs such as “Presence” to place the synth track right on the mix.
- Route effects before and after the amp
The conventional type of effects placement, usually placed before the amps , jusk like the effects on guitars. The effect would also sounds amped and saturated alongside the dry sound. It would sounds old, but the amp output is in mono so it could give you the real stero effects like phaser,chorus, etc. But it’s up to your music. You also could the effects after the amp to preserve their characteristics.
- Amplifikation usage during live
Check your soundcard bitrate, and voila! You can play your synths plugin with your midi controller and use Amplifikation for your live performances. Be critical with every tweak for your live sound and eq. Check the soundsystem and the monitors, and check if your sound will be compressed or limited, or amped. Make sure the amounts of every processing, so it would not sounds too dry or too wet.