Producing your own music could be done in some music making system, either using your DAW (Digital Audio Workstation), putting your virtual instruments here and there, throwing your sample packs, then processing them with your favourite Vst plugins. Get your mic, pick your acoustic guitar, record it into DAW, and be done. On the other hand, You could choose another way to sketch or even finish your own music with a “DAWLESS” system. Our Sound Designer / Developer; Rathomi compiled a list of things to consider before dipping your toes into the vast world of DAWLESS music production.
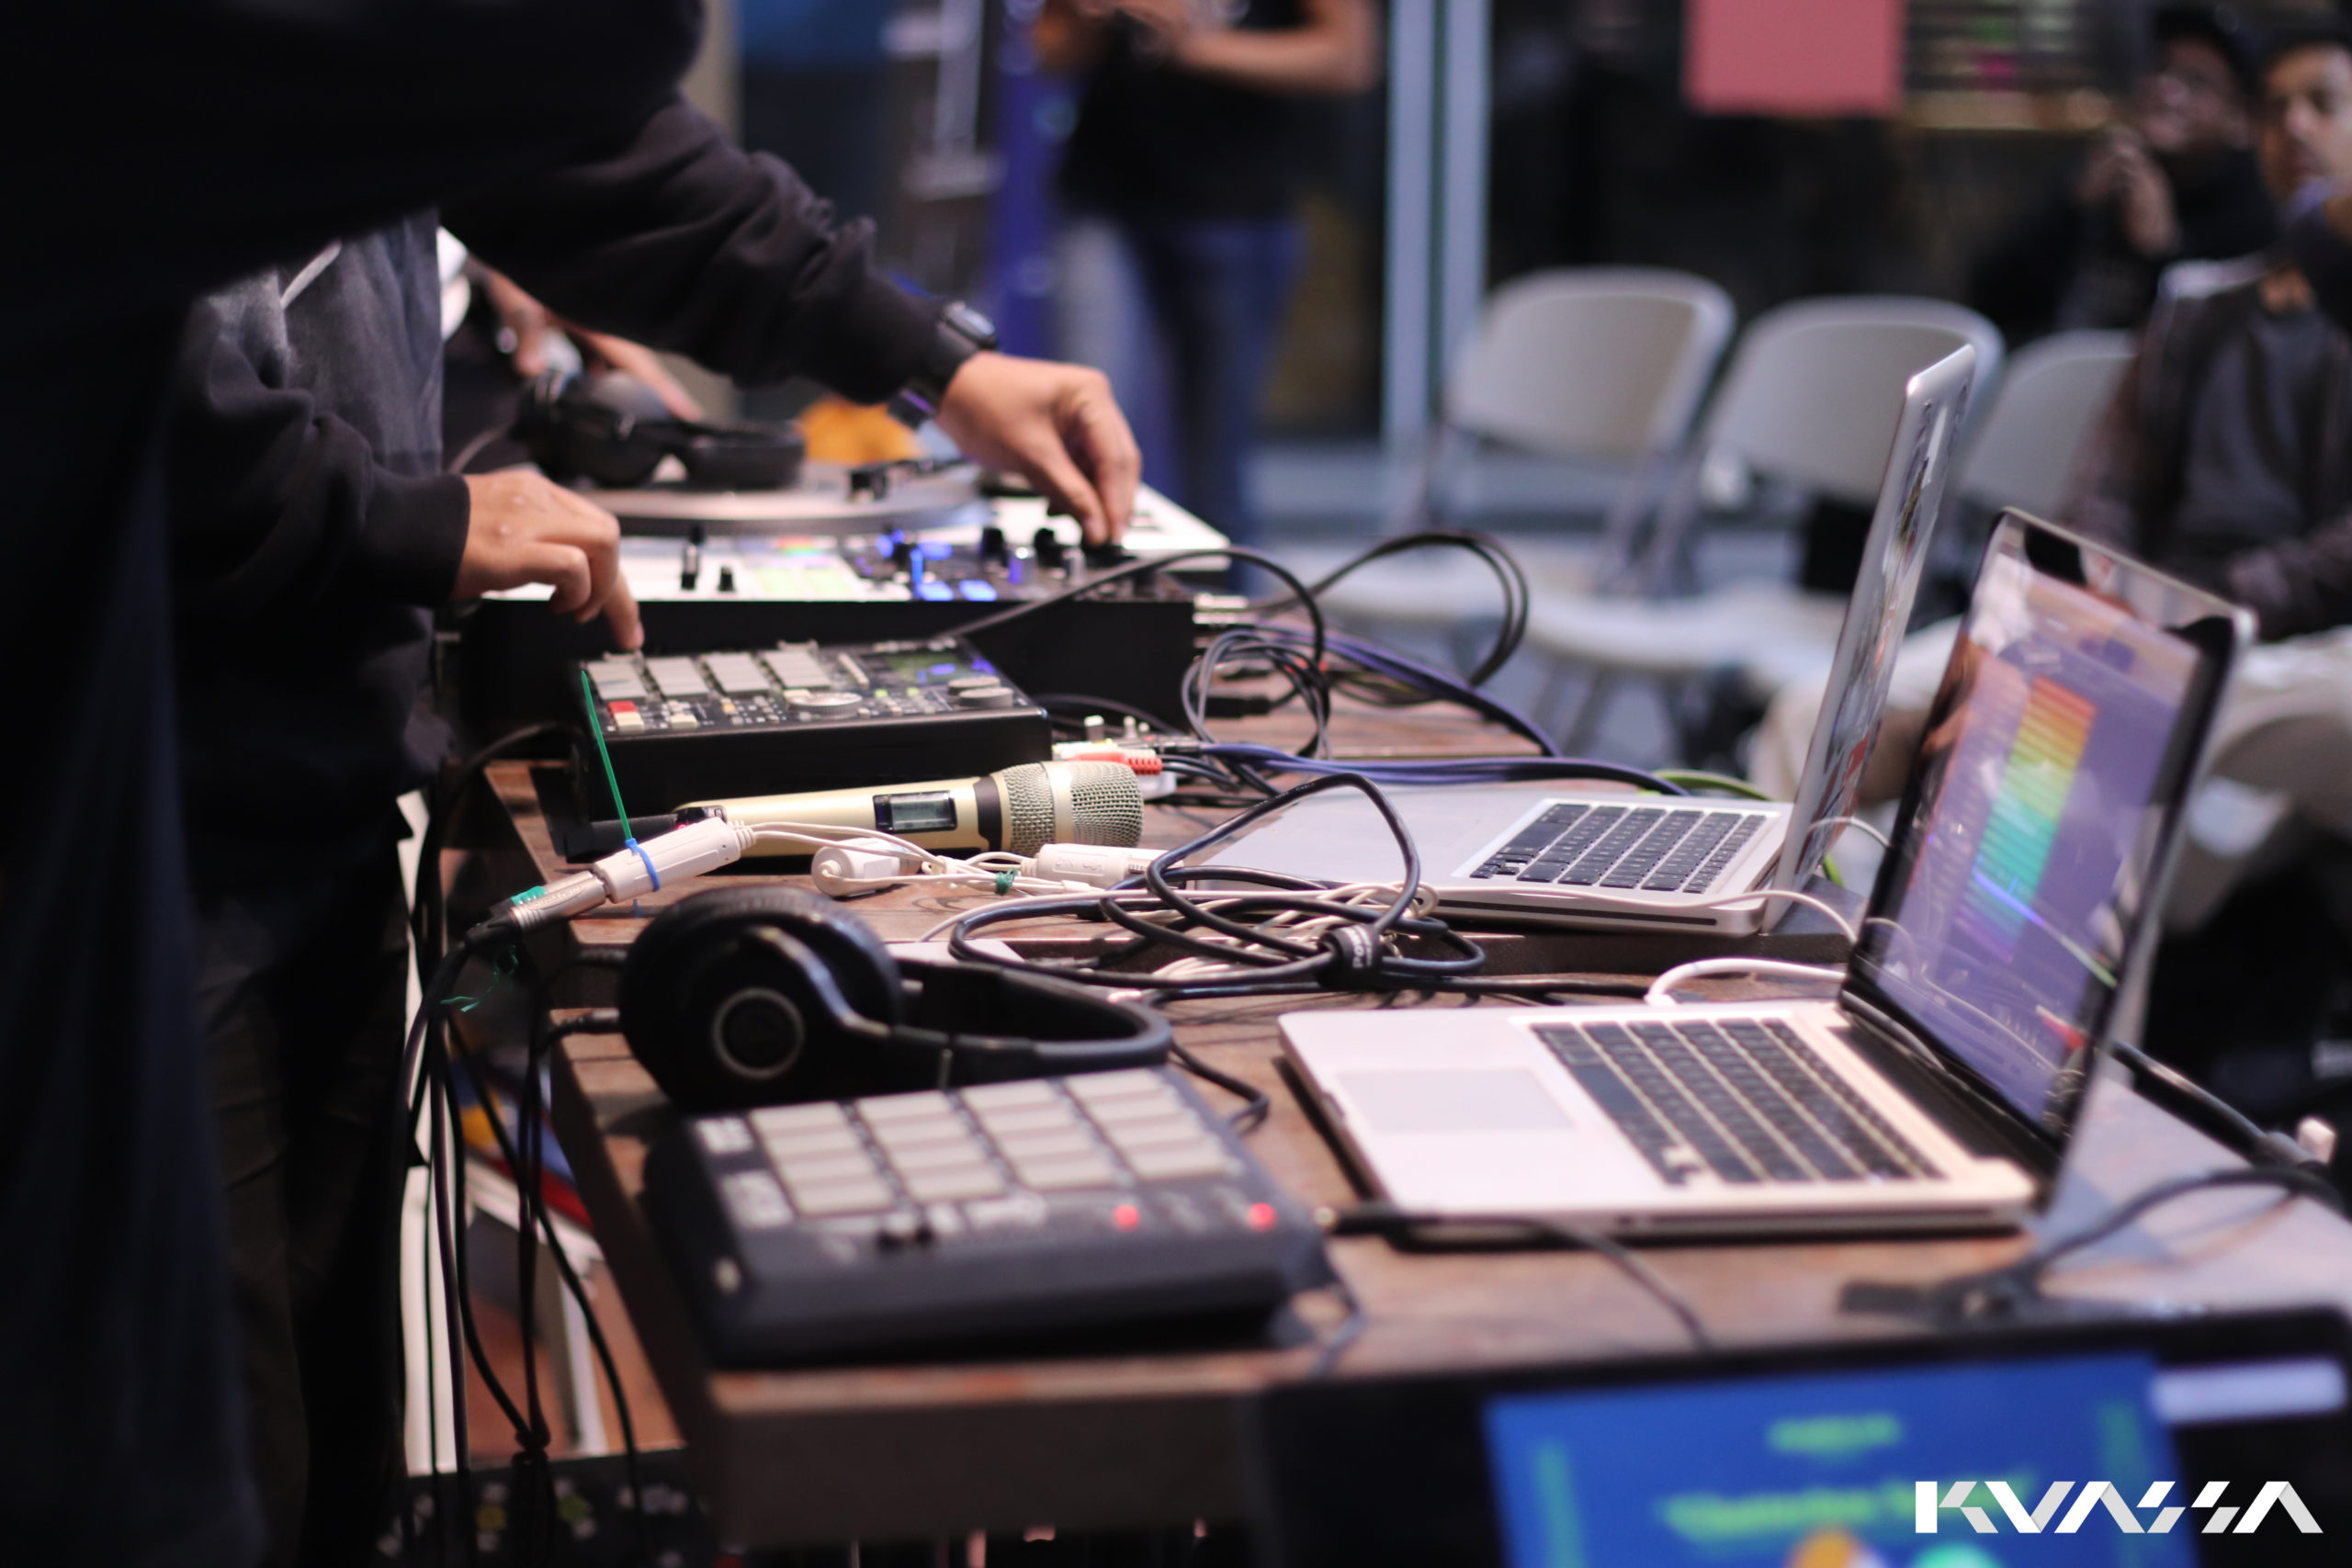
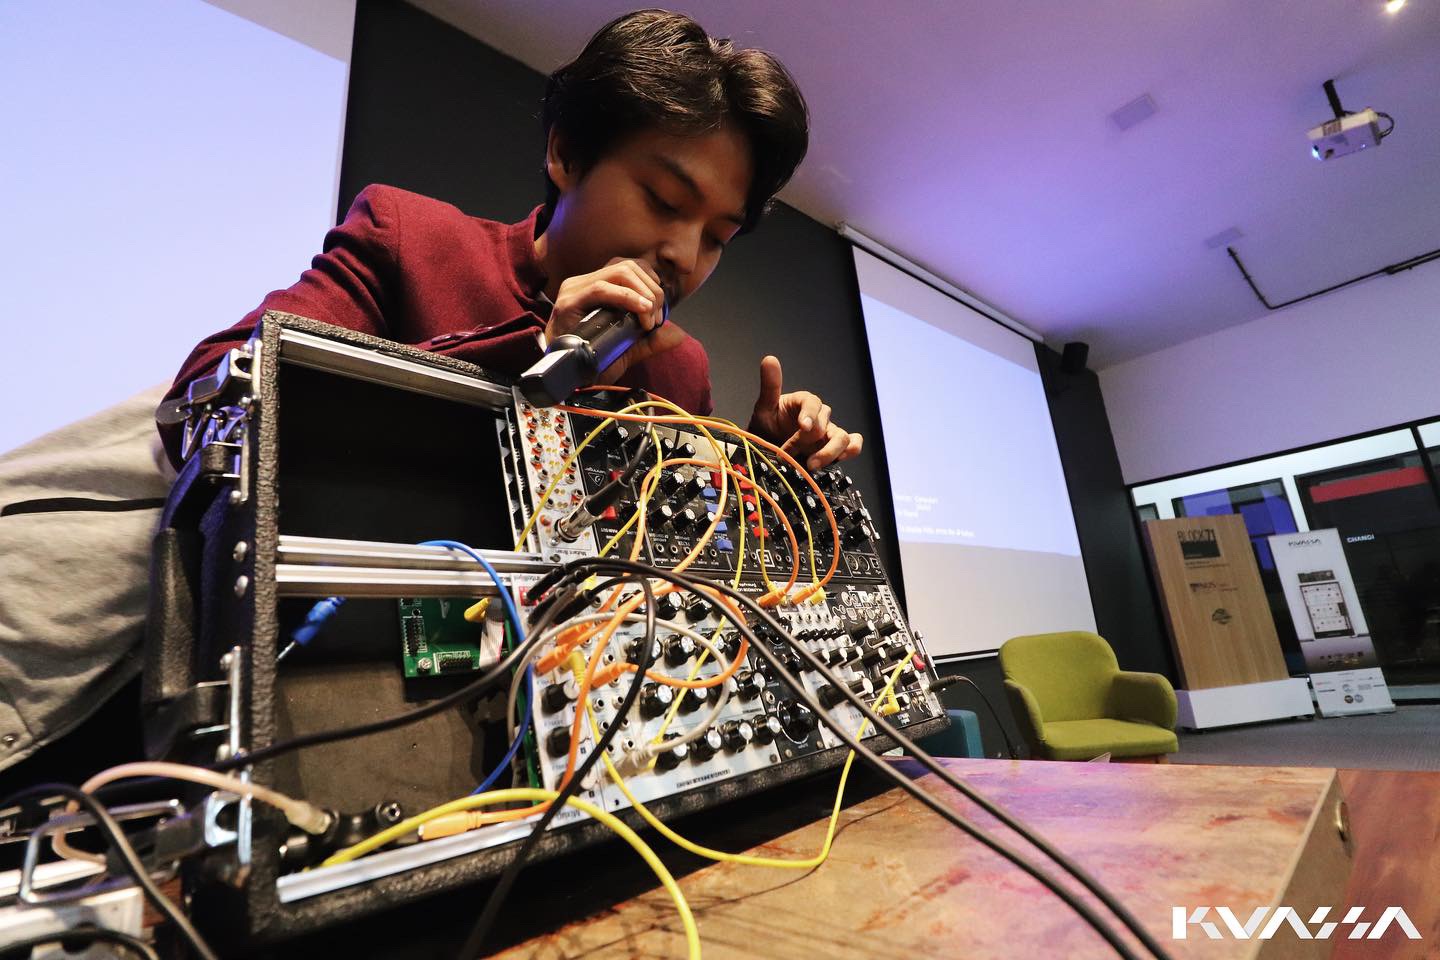
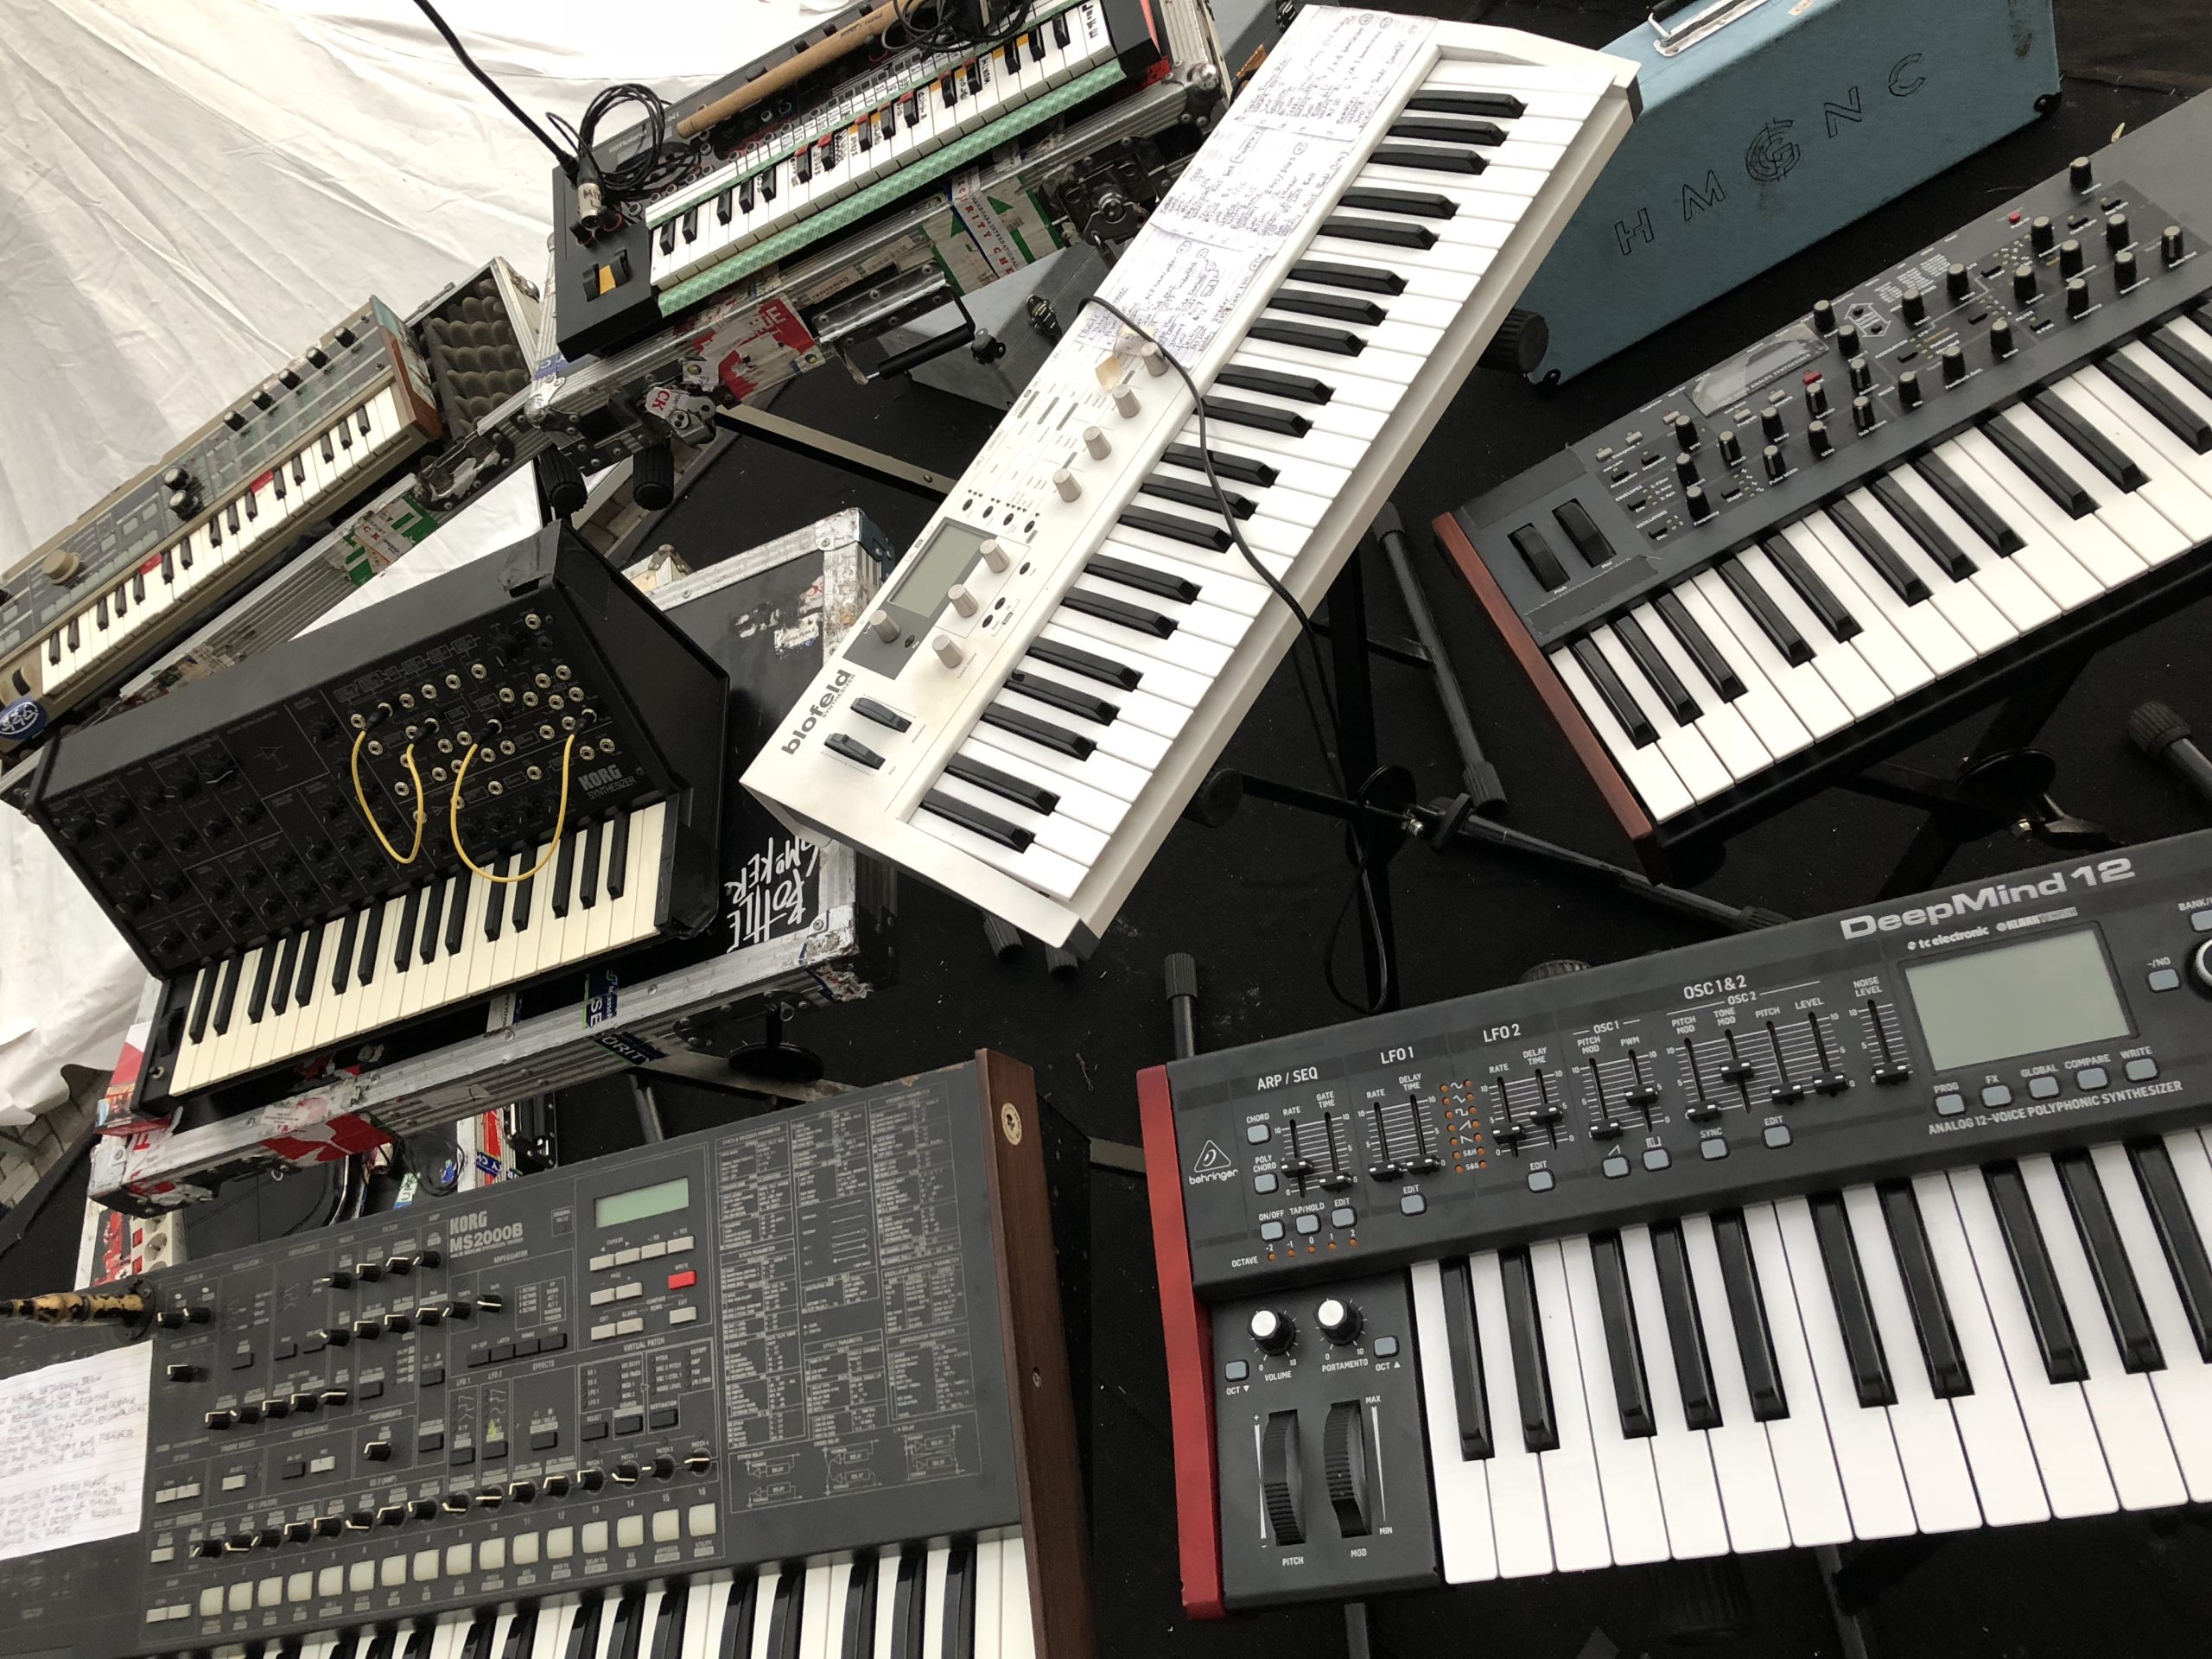
Dawless refers to creating music without the aid of a computer. It heavily relies on the combination among comprehensive stand-alone music production systems. Drum machine, groovebox, sampler, sequencer, synthesizer, and all other hardware devices that You need for composing and performing. Ok, hold It right there, sounds scary right?
 This is not about ditching your computer forever, but this is about what music making process and workflow that suits You best. As a personal opinion, my choice for having a Dawless system is about helping me to express my musical ideas, and let me translate all the sounds in my head into a piece of music without having too much screen time.
Before You drown yourself into Dawless setup, there are some considerations that might help you decide if this Dawless setup is your kind of thing or not.
1. A simple start
You can choose a single device setup to start your journey into the path of dawless. It’s easy, no hassle, no extra cables for inter-connectivity, a compact gear to throw in to your backpack for live performance, dive into the depth of that one gear and focus on songwriting. Let’s say You have Elektron Octatrack, create your own music loop inside DAW, and load them up to Octatrack, and you’re good to go.
2. Genre
Ok, I know it’s kind of a cringe to talk about genre, but it will help You to decide what gear You will use, or what kind of sound samples that You load into your groovebox . If your song is based on a Four-on-the-floor beat, an analog drum machine or groovebox could be your weapon of choice. Gears like Elektron Analog Rytm, Circuit Tracks, Arturia Drumbrute, etc., will satisfy your ears.
Let’s say You want to create a chillhop setup with your groovebox . You need samples that fit for it, such acoustic drum samples perhaps. In addition to that matter, You need a drum machine or groovebox that has an unquantized feature, because in chillhop you will need that humanized kind of beat that makes the track alive.
 3. Know your gears
From my personal experience it takes time to get the most out of your hardware. Manual books, reviews and tutorial videos on social media are your best friend. Knowing many tips and tricks about operating your gears will make your music making process faster and easier. Knowing pros and cons for each of your gears certainly will help You to master this dawless setup.
4. Workflow
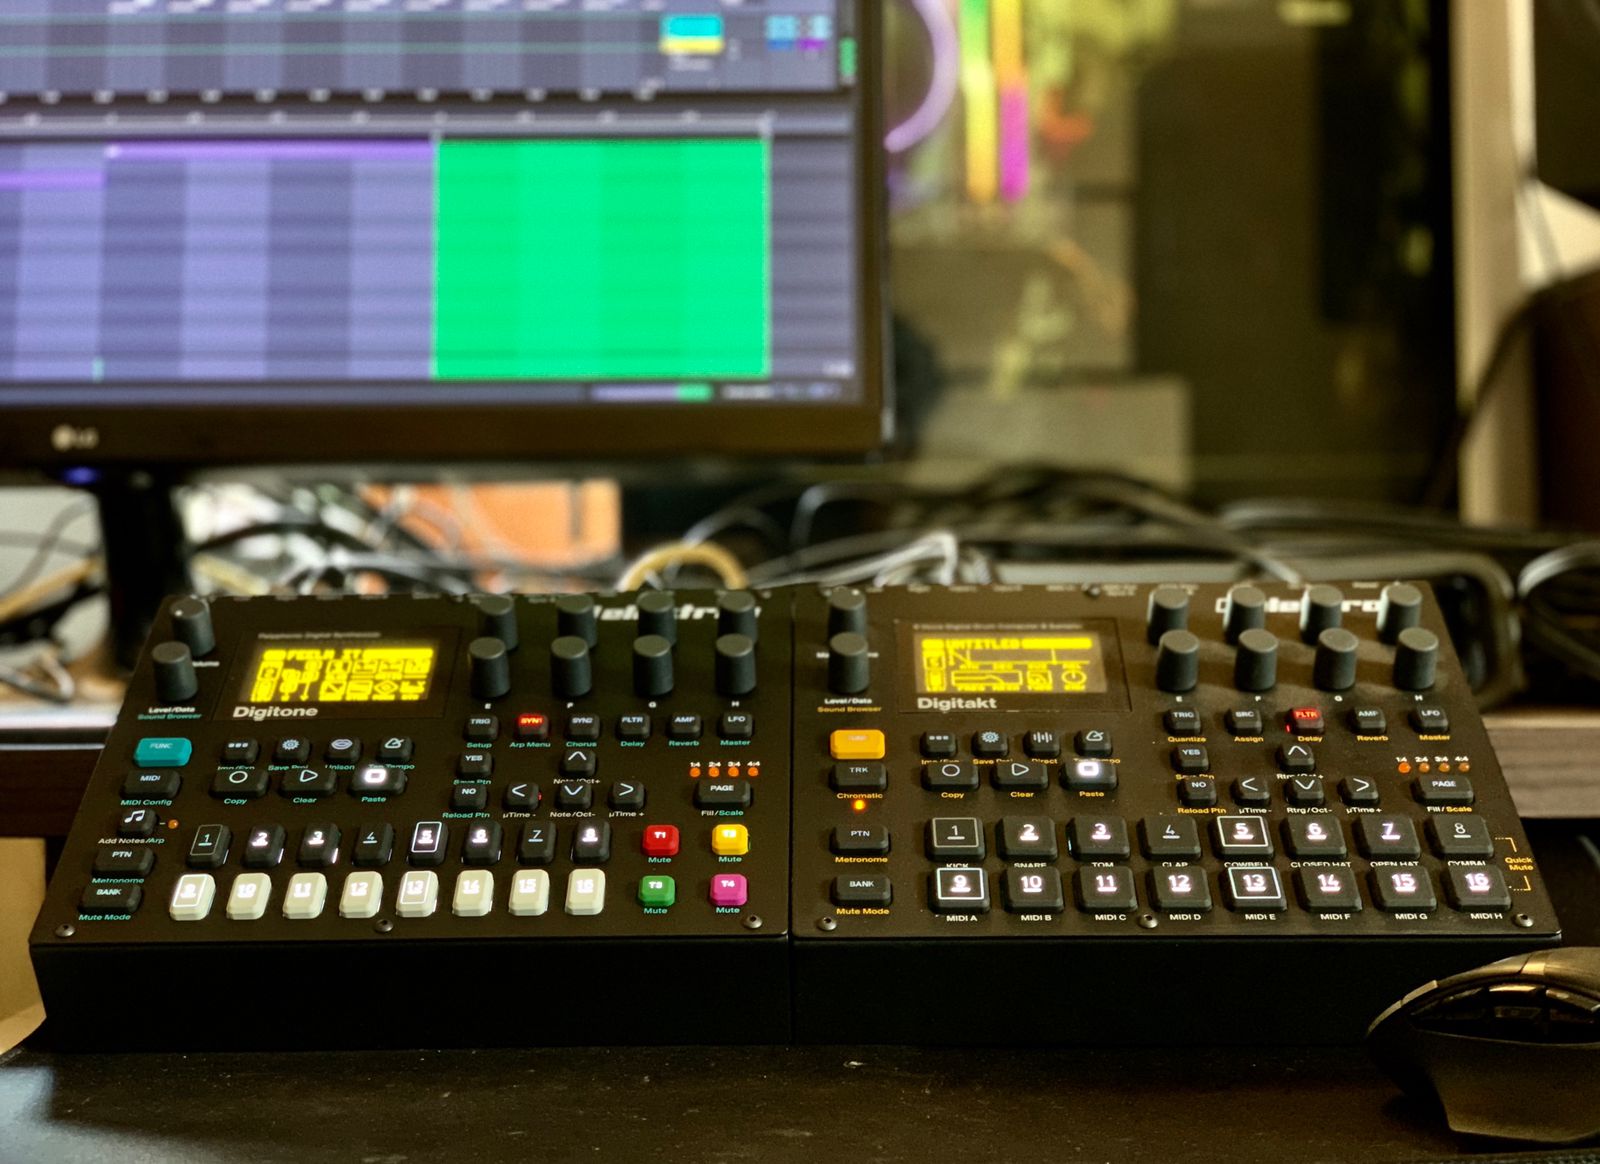
The biggest question is , what gear should be the brain of your dawless setup? This brain will send the master clock or midi notes to any other hardware. Start simple, add another gear only if You really need it. I have my Novation Circuit as the one who rules them all. For example, It sends clock and note to my Korg Volca FM, Sync tempo with Electribe, Model Samples, and Kaoss pad 3.
5. Sorting out frequencies
Using a lot of hardware for live setup could be tricky, as You must find the right balance for volume and frequencies for each sound. Perhaps one of the best ways to annihilate frequency collisions is to treat your individual gears as a mix bus channel. Decide what gears to play the Low frequencies, such kick and bass, or apply an adequate high pass filter for hardware that play hi hats and percussion tracks. This will help you to give enough space for each instrument’s sounds.
 6. Choose the right sound samples
It’s very wise to choose your sound samples carefully before you upload them into your groovebox. We don’t need many kick samples, if we have an analog drum machine. Find the right reason to upload a longer loop sample into your groovebox, because it needs more memory space in your Groovebox.
7. Labeling
Trust me it’s going to help you a lot. Using a lot of hardware for dawless setup means plenty of audio and midi cables. Use variety of duct tape for each of your audio and midi cables will help you saving much time, especially when you load or unload your dawless setup on stage or studio. Use some labeling tape on your gears too, so You will always know which groovebox pad that contains a specific sound. This is going to save You much time, especially for loading your setup in a live performance situation.
8. The purpose of your dawless setup
Some find comfort just to build their dawless setup for recording process only, and on the other side, some musicians build this setup as a live setup. If You have dawless setup for sketching and recording only, just leave all the sound processing inside DAW as it is less time consuming. If you have this setup toward live performance, make sure You find some balance between having fun and creating good music for the crowd.
 9. Gear acquisition(s)
Learning by buying the gear You want is fun, but hold your wallet right there. You will find plenty of drum machines, groovebox , synthesizer, guitar, etc. In the market today. Somehow it is very wise to know a little bit deeper about those hardware before You spend your money on them. Download a manual book and watch some tutorials and review videos about the hardware You need, because it will give You a perspective on how you’re going to use it in your dawless setup.
10. Nobody’s perfect
There is no such thing as the perfect gear, each device has their own quirk. Treat each device as a different personality, let them shine in their own space. If there is a so-called “perfect” gear, then get ready to pay for a price, a very deep menu diving, and a very steep learning curve.