When talking about wah-wah pedal effect emulation, it won’t be complete if you don’t have an expression pedal controller to rock your feet up and down so you can wacka-wawa. Luckily, you can build one by yourself for cheap and easy. Here it is, but Be Careful and Have Fun!!
Intro:
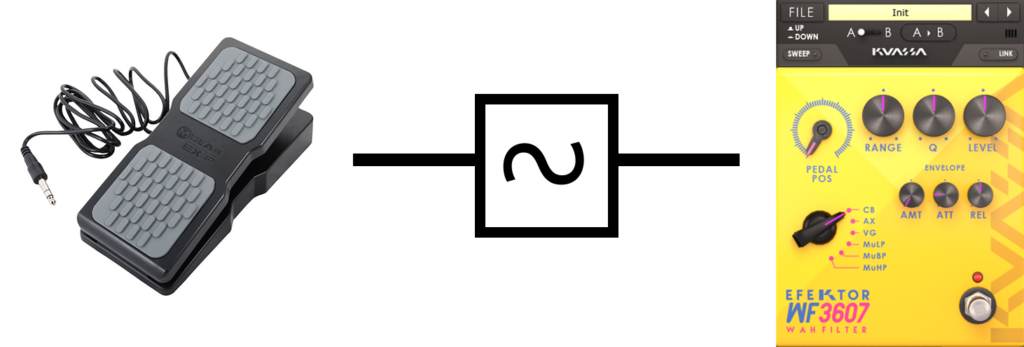
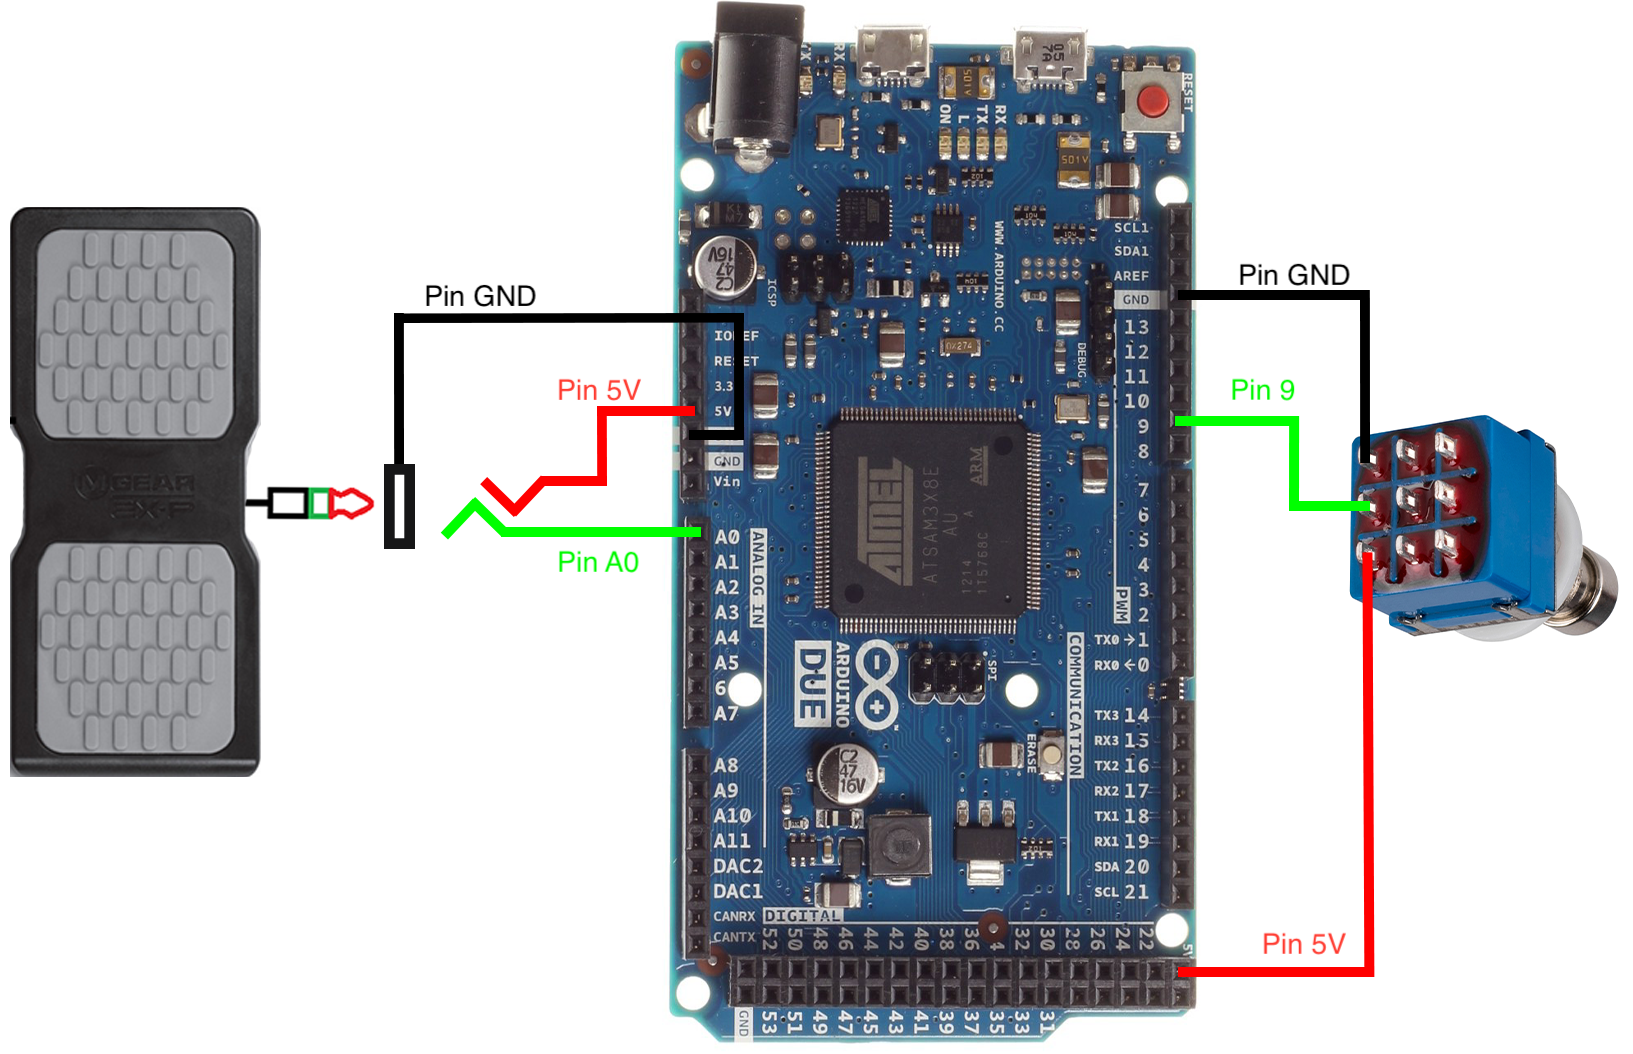
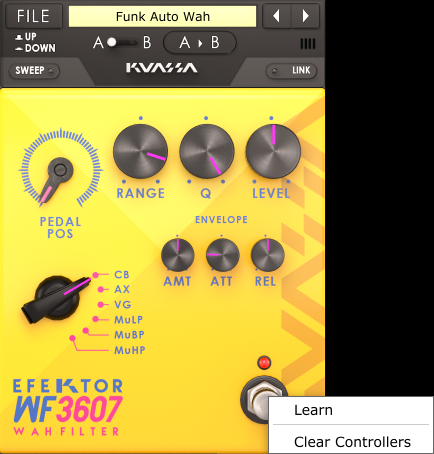
We are going to build a device that can convert expression pedal signal to midi signal. We use arduino to convert the signal. The diagram below shows the connection between expression pedal, switch, and arduino. Our expression pedal will control pedal position (Pedal Pos) in Efektor WF3607 and the switch will control the bypass.
-
Below are the configuration of wiring.
-
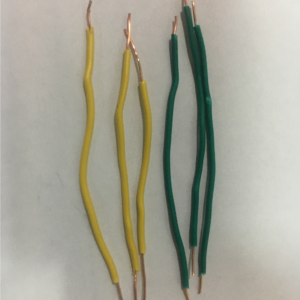
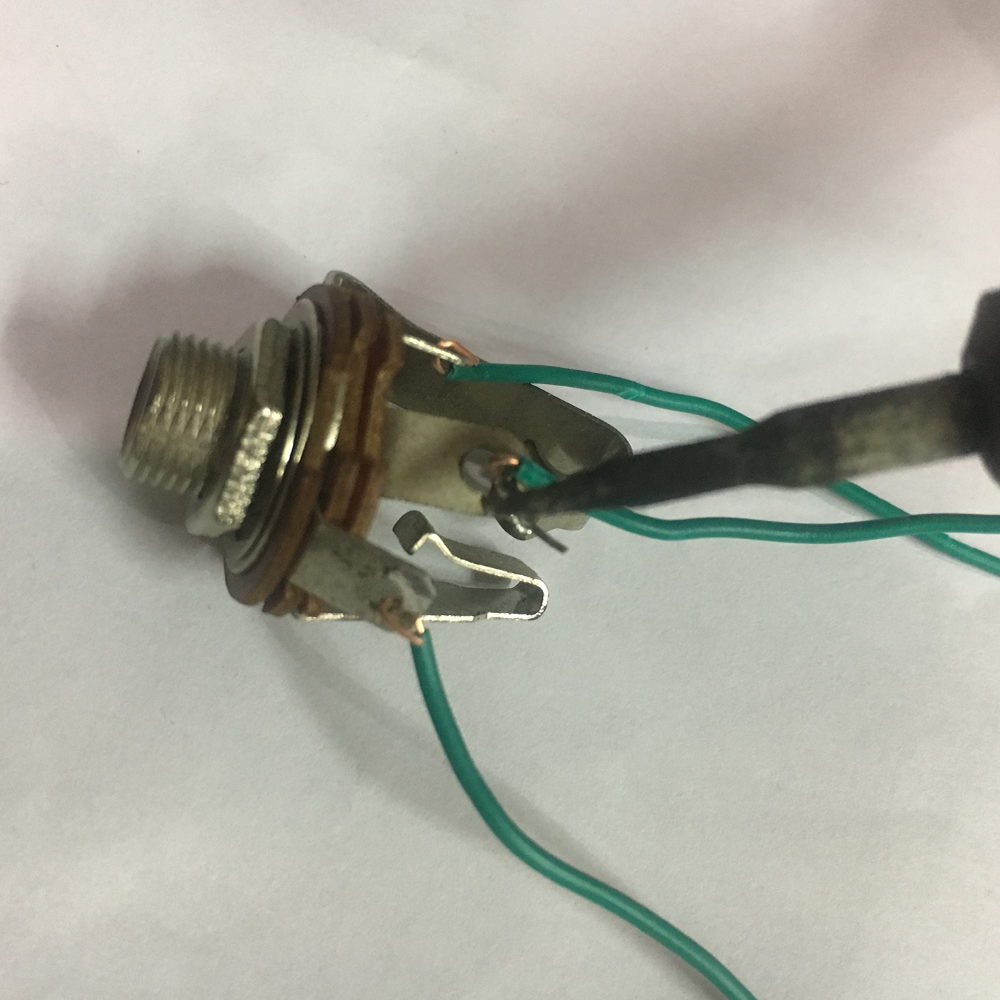
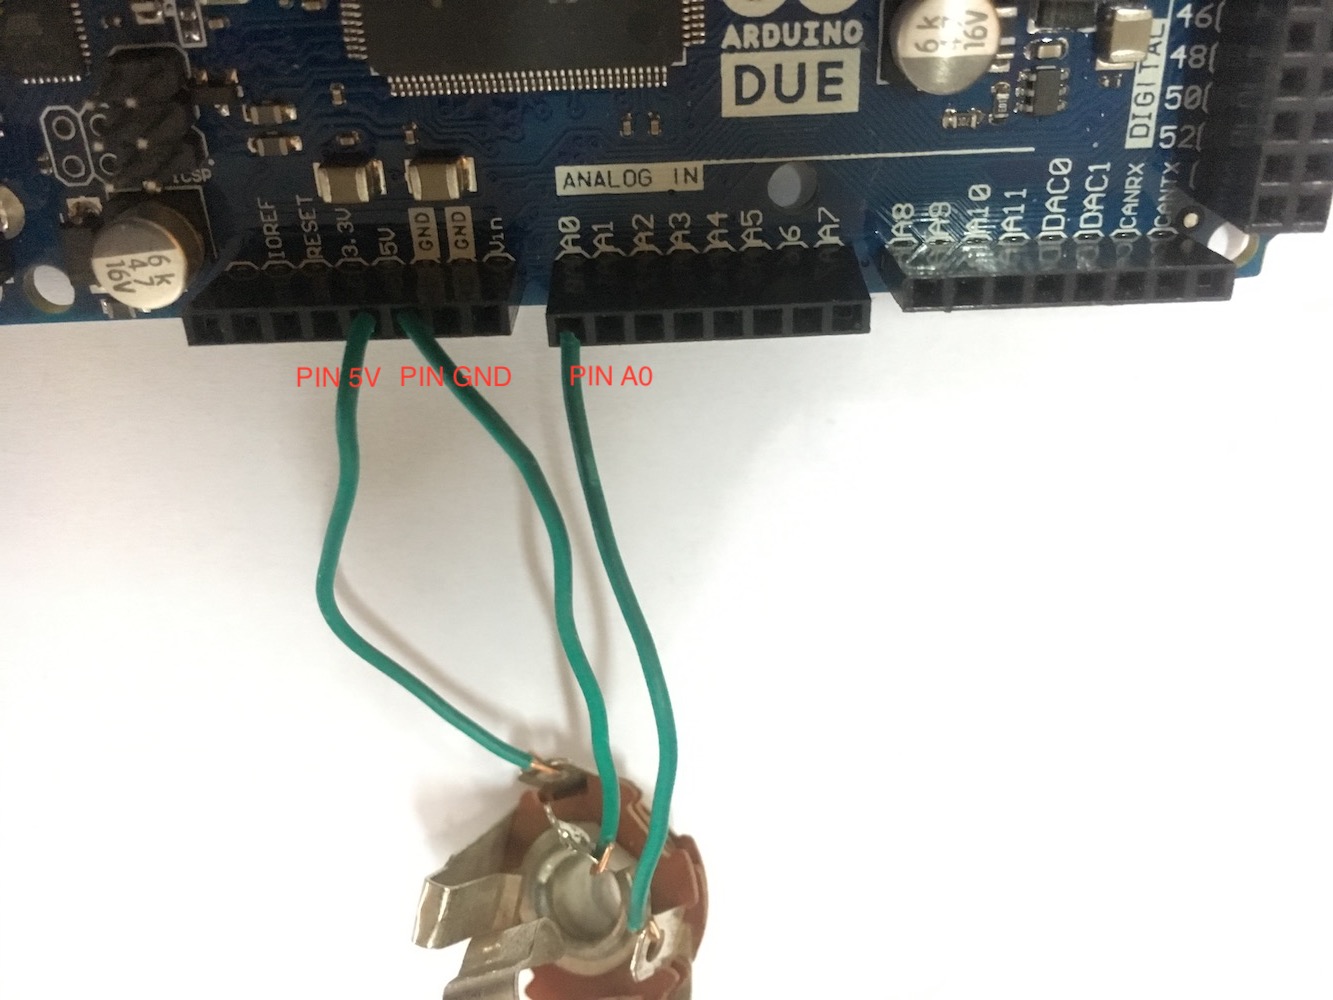
1/4″ Female Stereo Jack wiring configuration:
- Tip (Red) -> Pin 5V
- Ring (Green) -> Pin A0
- Sleeve (Black) -> Pin GND
-
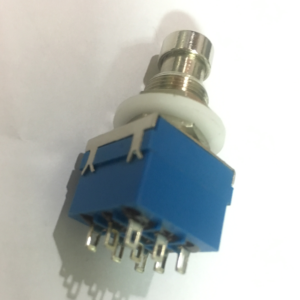
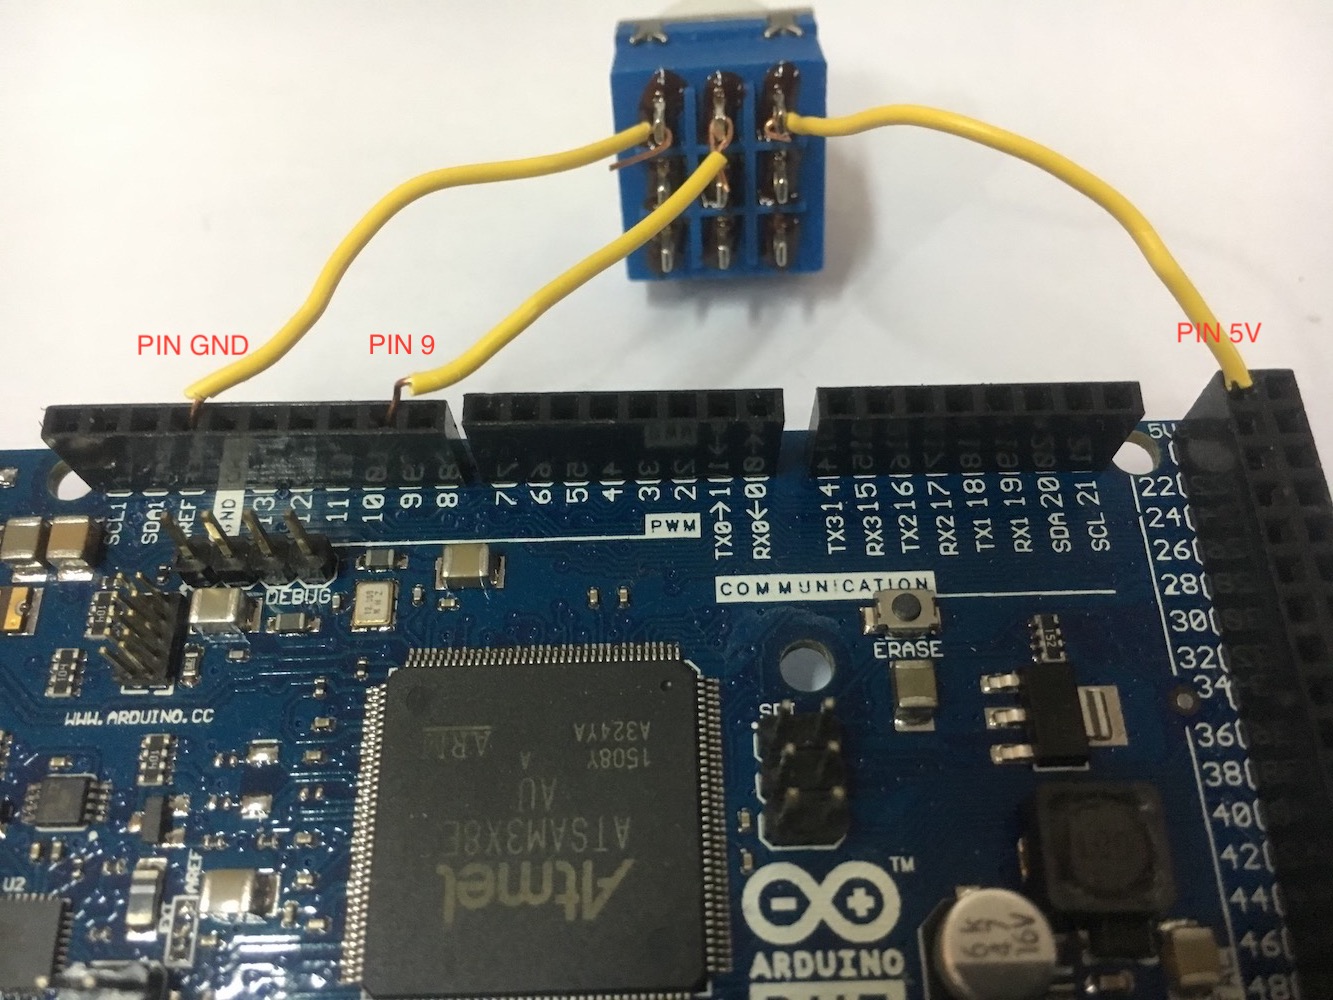
3PDT wiring configuration:
-
Red -> Pin 5V
-
Green -> Pin 9
-
Black -> Pin GND
-
-
What you need:
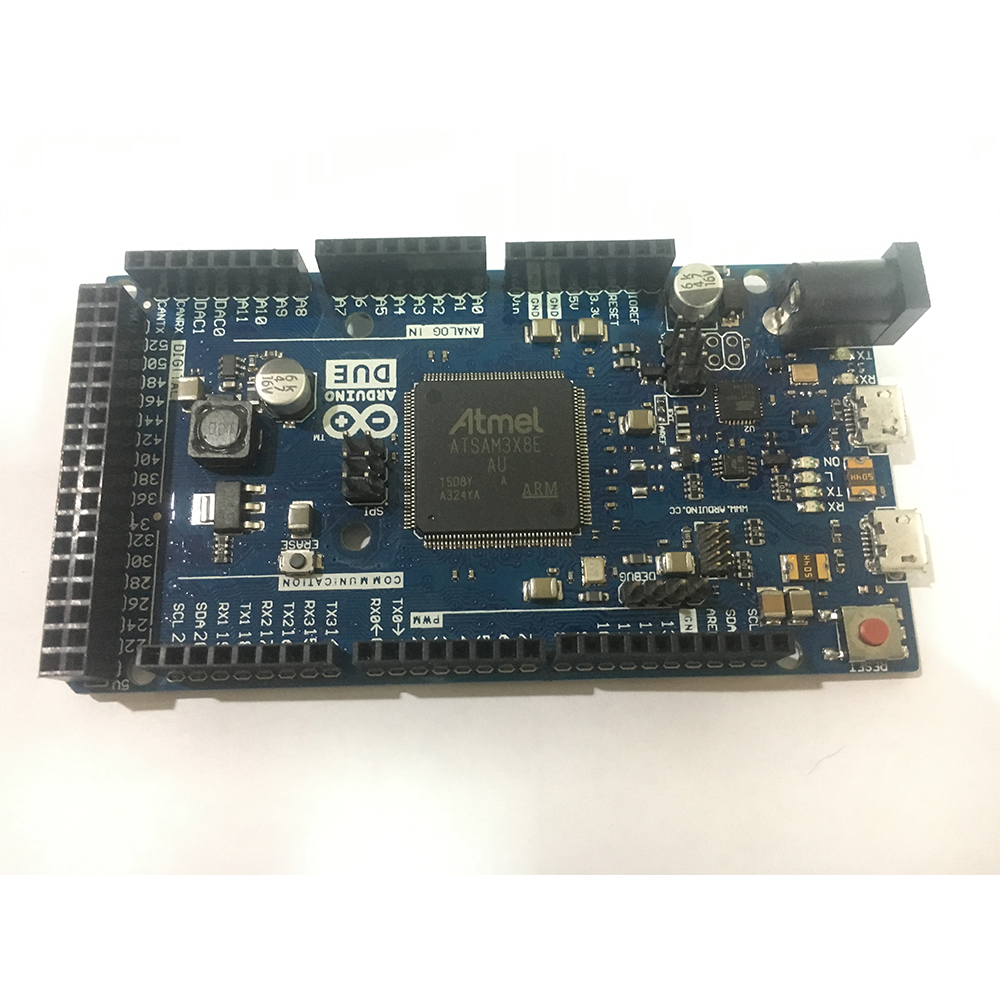
- Arduino and its USB cable. In this case we use Arduino Duemilanove (Arduino Due). We also have tried using Pro Micro 5V/16MHz (Arduino Compatible). Other devices that might also work are Arduino Leonardo and Arduino Micro. Some devices are not supported because they are not recognized as USB Midi.
- Jumper Cables. Look like below.
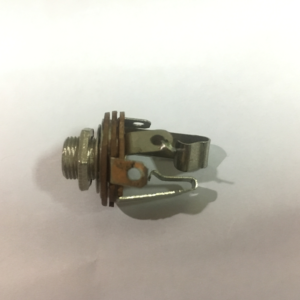
- 1/4″ Female Stereo Jack.
- Switch 3PDT. (Don’t use the momentary switch).
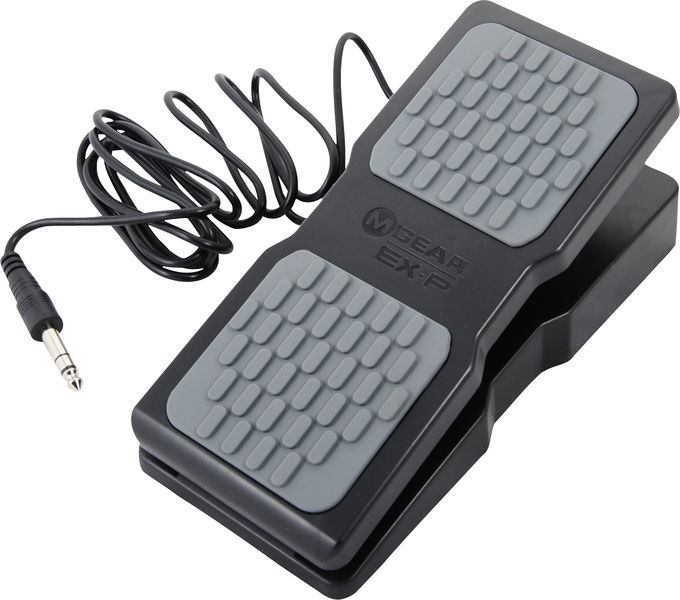
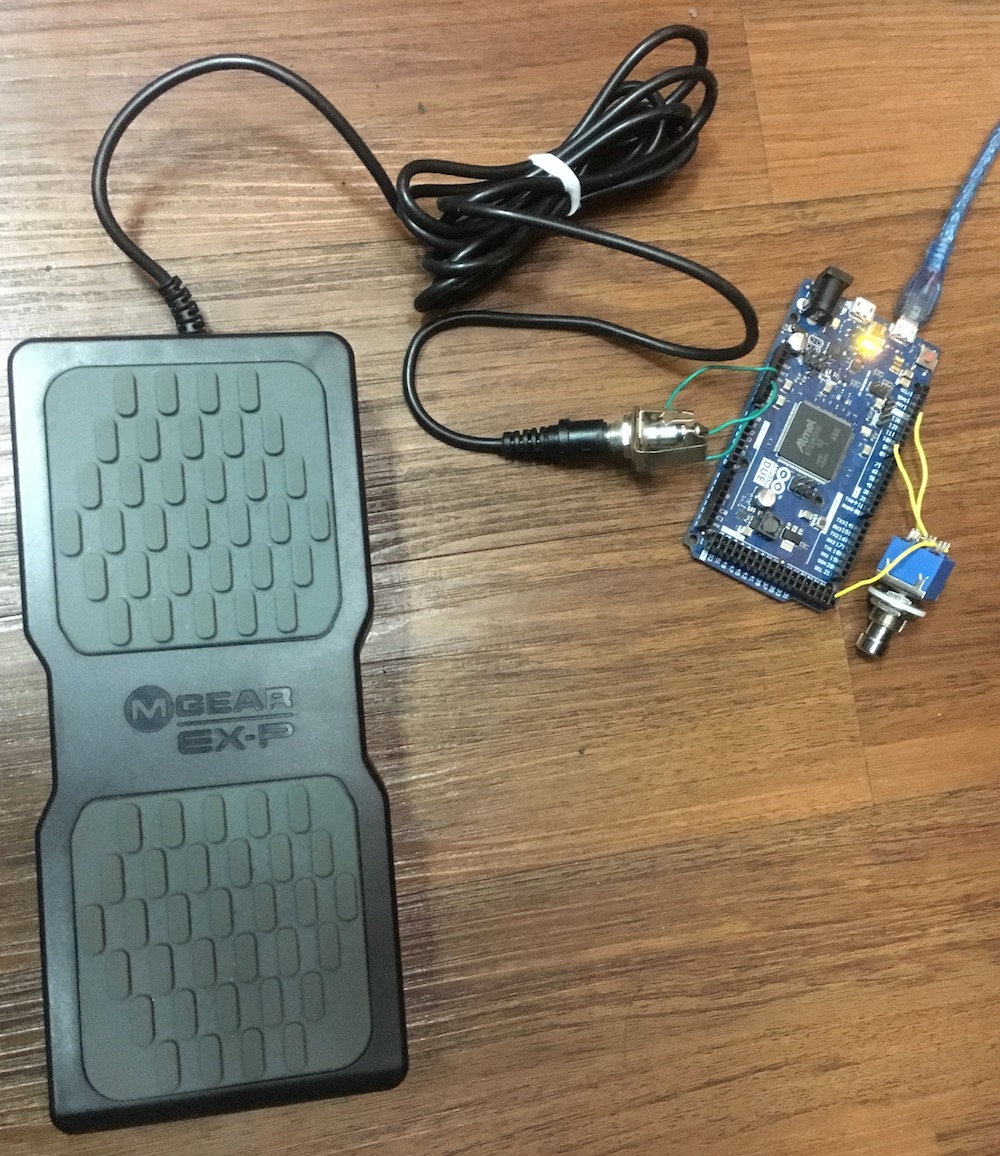
- Expression Pedal. We are using M-Audio expression pedal.
- Computer. You absolutely need this to make it works.
This tutorial consists of two parts, hardware and software. First, you will be doing some tasks regarding the hardware part (soldering, connecting the jumper, etc). Then, you will compile and download the code provided to your Arduino.
Hardware:
- Prepare the items.
- Solder the cables to ¼” Female Stereo Jack.
- Solder the cables to switch 3PDT.

- Connect 1/4″ Female Stereo Jack and switch 3PDT to Arduino.
- Connect your Expression pedal to 1/4″ Female Stereo Jack.
- From now on, the hardware part is done. Let’s hope all the things work. You could also use/build an enclosure to pack the device.
Software:
- Install Arduino IDE. Download here if you do not have it yet.
- Open Arduino IDE (If already installed).
- Connect your Arduino to the computer.
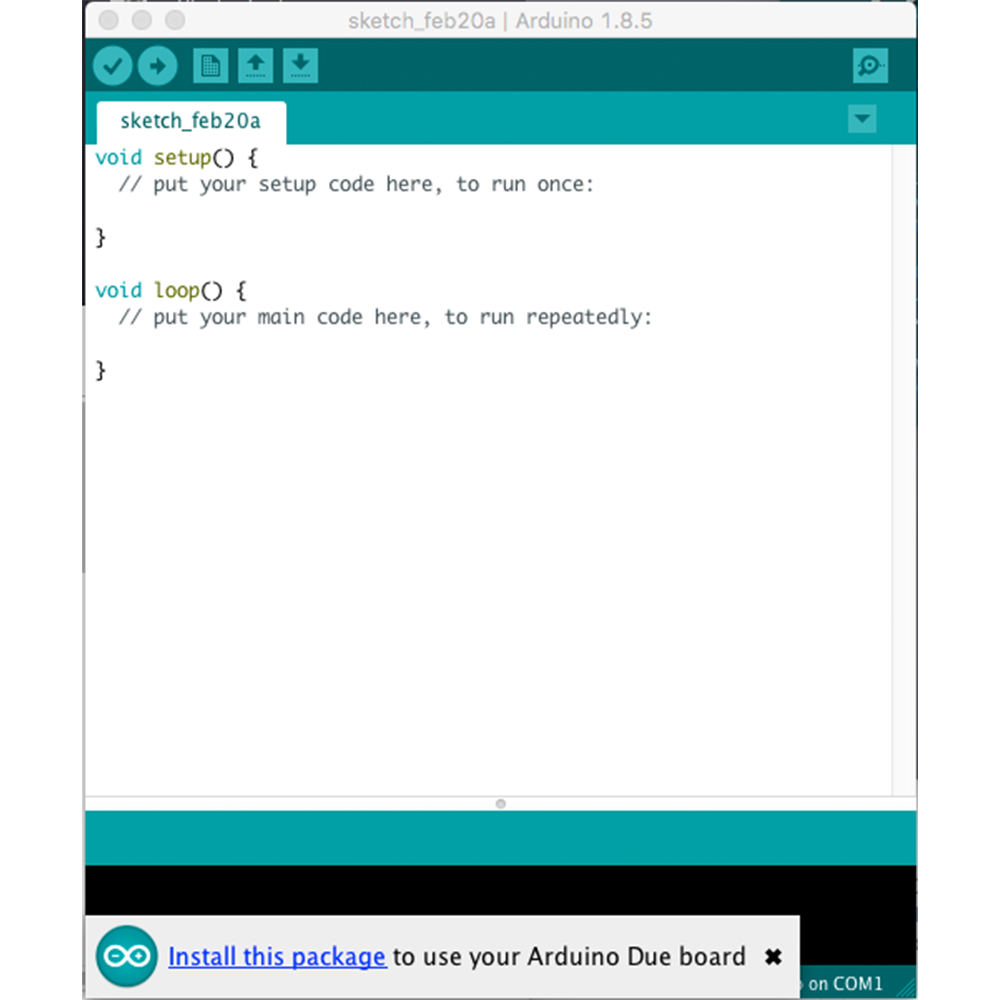
- (Only for Arduino Due) A notification as depicted below will appear to ask you to download Arduino Due library.
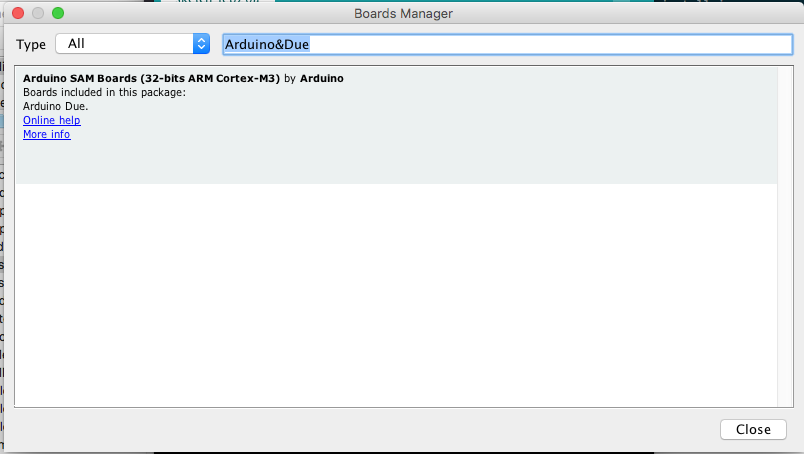
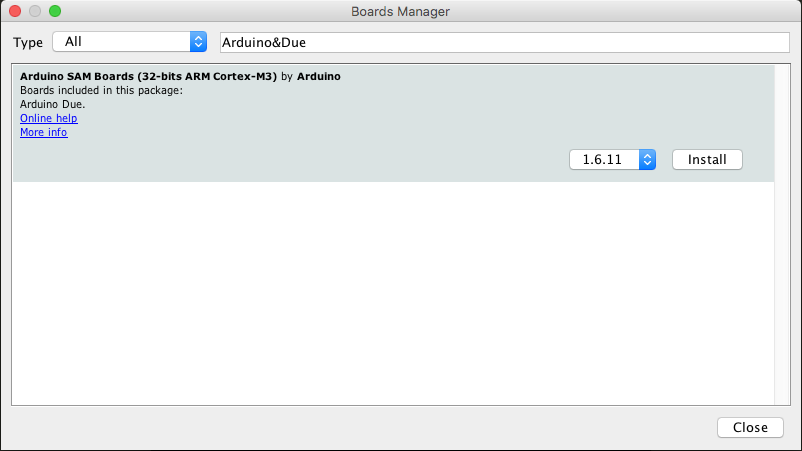
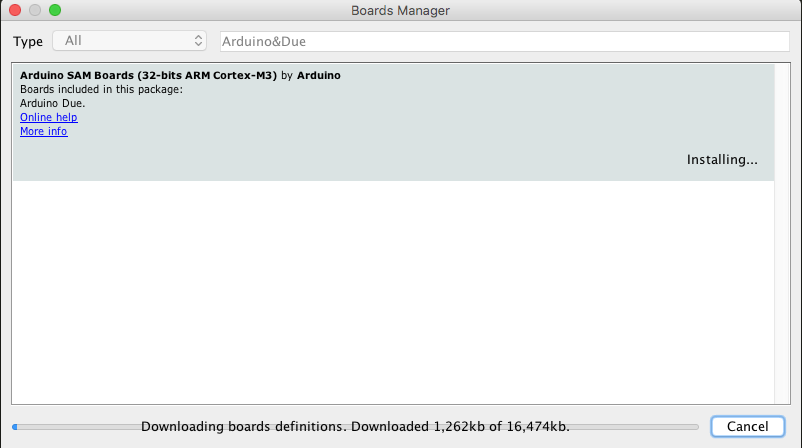
- (Only for Arduino Due) Click “install this package”. The window below will appear. Click the box “Arduino SAM Boards”, button “Install” and a combo box will appear. Click “Install”.
- (Only for Arduino Due) A notification as depicted below will appear to ask you to download Arduino Due library.
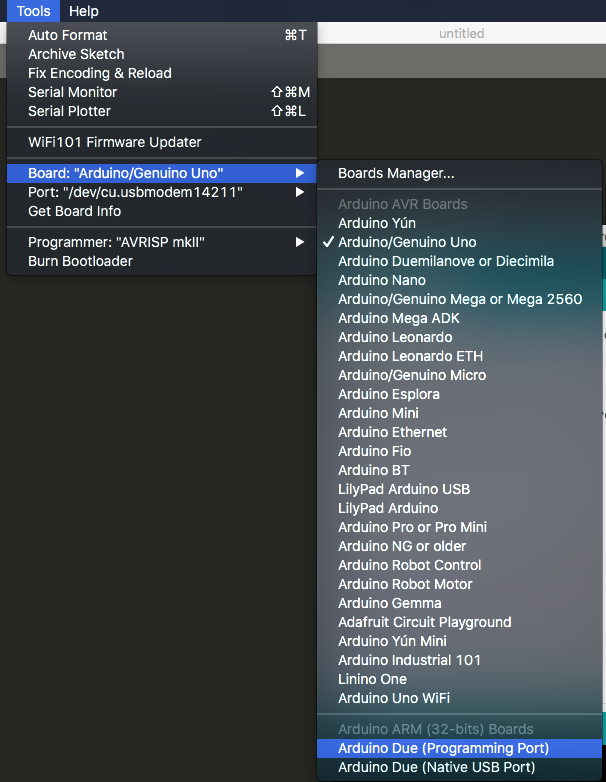
- Select your board in Tools->Board
- (Only for Arduino Due) Choose the board according to the port you plug the USB in.
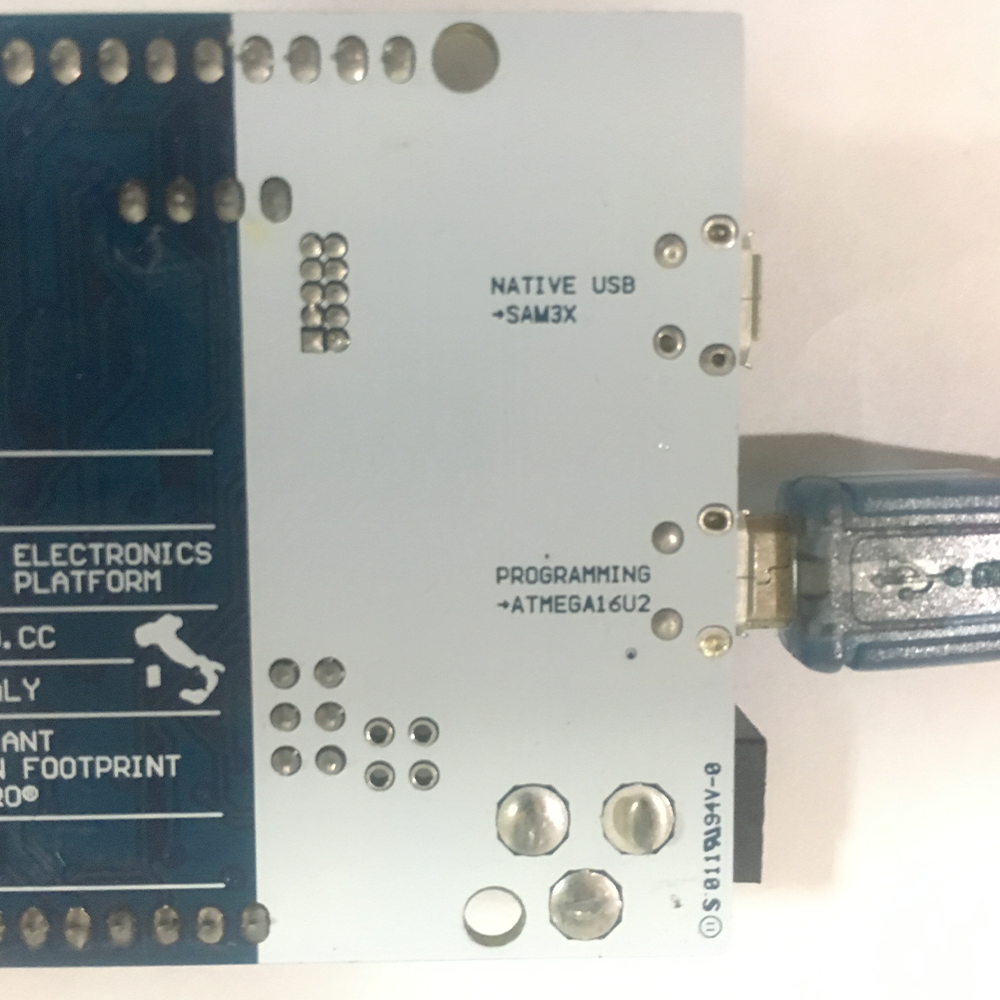
- (Only for Arduino Due) Choose the board according to the port you plug the USB in.
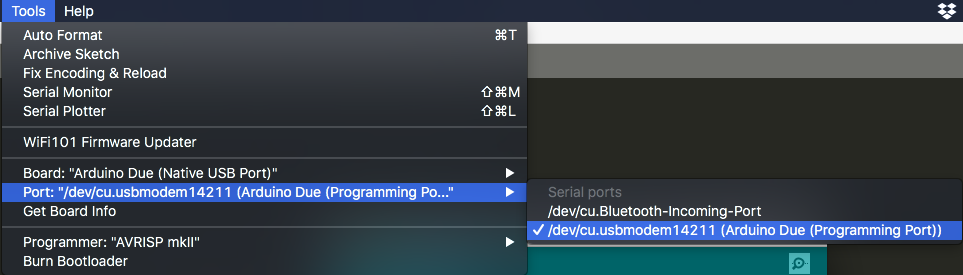
- Select the port in Tools->Port. If you are in Mac, select port usbmodem… If you are in Windows, select port COM..
- Download the source code here
- Open the source code File->Open…
- Download MIDI libraries. Sketch->Include Library->Manage Libraries..
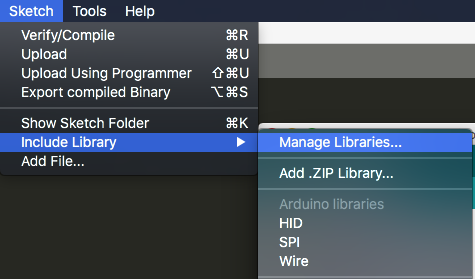
- The window below will appear. Type “Midi” in the textbox and install MIDIUSB library by Gary Grewal.

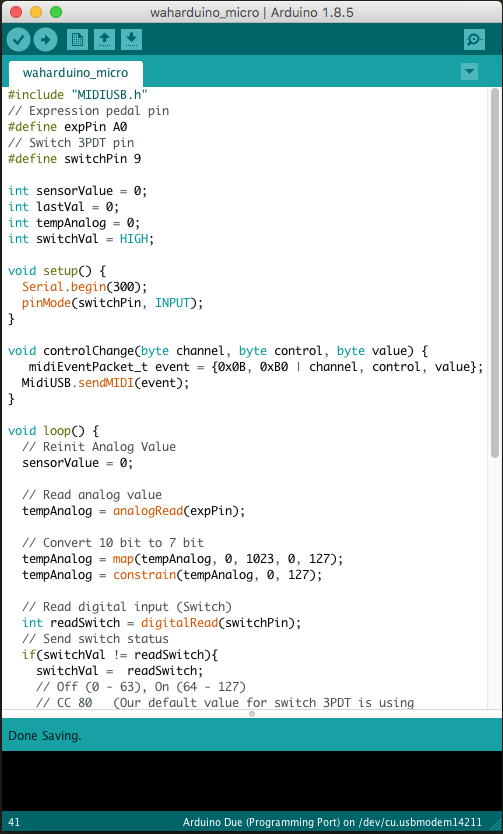
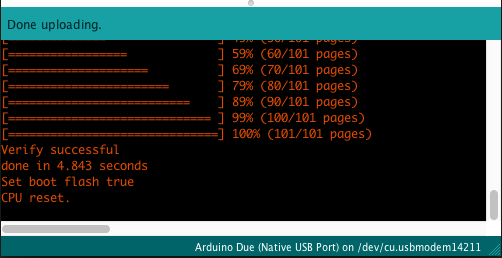
- After MIDIUSB has been installed. Upload the source code to Arduino board by clicking “Upload”. If succeed, “Done uploading” text will be shown
![]()
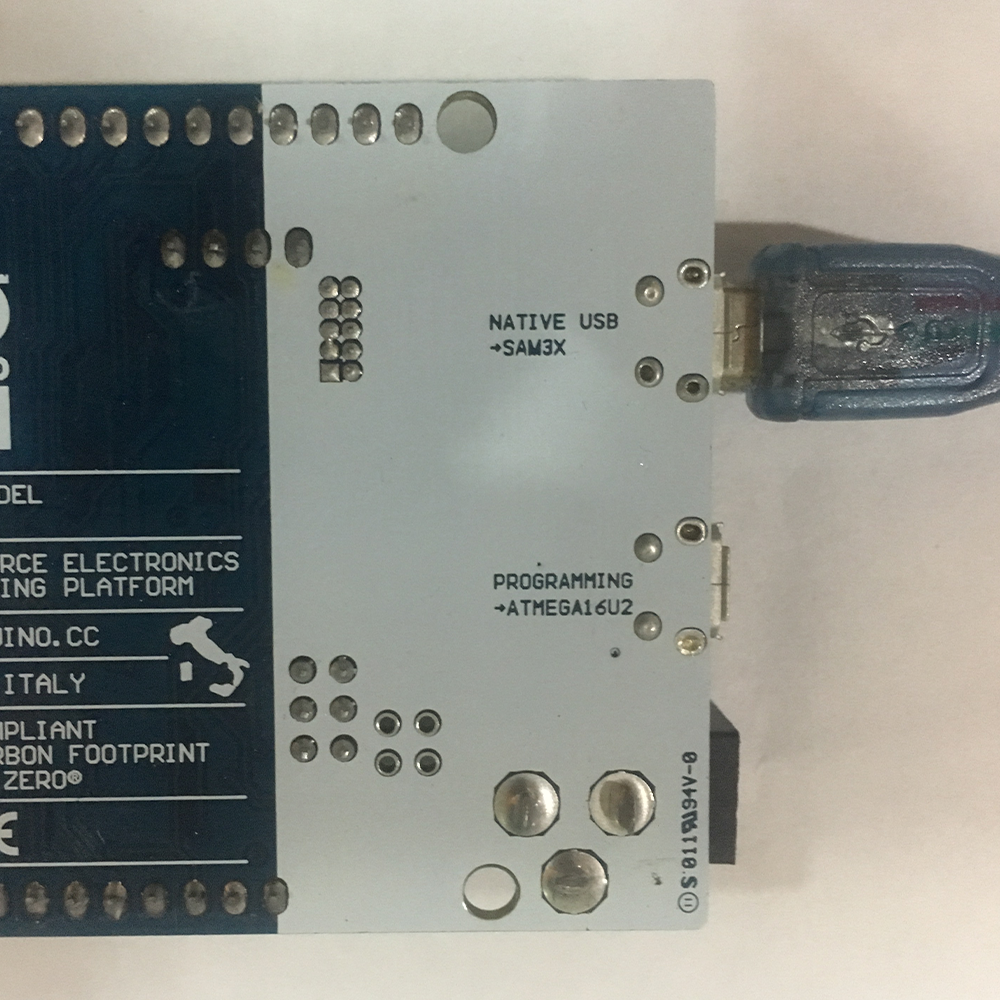
- (Only for Arduino Due) Connect USB to “Native USB” port in Arduino Due.
Testing:
- Make sure your Arduino board is already connected.
- If there is a “Reset” button in the Arduino board, press it to reset your Arduino board.
- Open your favorite DAW.
- Configure input MIDI device in your DAW. Every DAW has different ways to configure MIDI device. Google it.
- If you are using Arduino Due, “Arduino Due” will be shown in the list of input MIDI device. Choose it. If you are using another Arduino. It will show the name according your Arduino board.
- Load Efektor WF3607 (You can download the free demo version here or buy it. We prefer if you buy it anyway 🙂 )
- Right click on the Wah pedal position. Click learn and push the expression pedal at the same time.
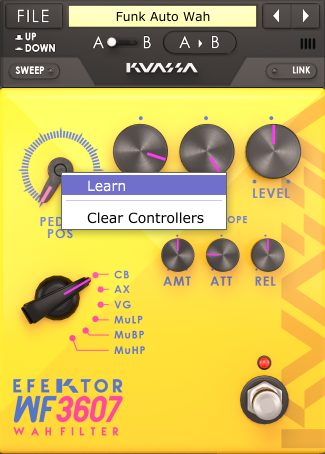
- Right click on the bypass button. Click learn and push the switch at the same time.
- Done!. Enjoy the Efektor EF3607 with your Expression Pedal.